La fotografía aérea se ha vuelto cada vez más popular gracias a la accesibilidad de los drones. Ya seas un fotógrafo profesional o un aficionado, editar las imágenes tomadas con drones puede hacer que pasen de ser buenas a ser espectaculares. En esta publicación del blog, analizaremos algunas opciones de software de edición de fotografías populares y brindaremos una guía paso a paso sobre cómo mejorar las fotos tomadas con drones ajustando el contraste, el color y la nitidez.
Software de edición de fotografías popular para imágenes de drones
Antes de sumergirnos en el proceso de edición, exploremos algunas de las opciones de software más populares disponibles para editar fotografías de drones:
- Adobe LightroomLightroom es conocido por su interfaz fácil de usar y es uno de los favoritos entre los fotógrafos para organizar y editar fotografías. Ofrece herramientas potentes para ajustar la exposición, el contraste y la gradación del color.
- Adobe PhotoshopPhotoshop es el estándar de la industria para la edición de fotografías. Si bien tiene una curva de aprendizaje más pronunciada, ofrece funciones de edición avanzadas que permiten realizar ajustes detallados y mejoras creativas.
- Luminaria Skylum:Este software utiliza IA para mejorar las fotos de forma rápida y sencilla. Luminar es ideal para principiantes y ofrece funciones como reemplazo del cielo y retoque de retratos.
- Captura uno:Ideal para profesionales, Capture One proporciona excelentes herramientas de gradación de color y es particularmente bueno para manejar archivos RAW, que se utilizan comúnmente en la fotografía con drones.
- CAÑUTILLO:Como alternativa gratuita a Photoshop, GIMP ofrece una variedad de herramientas de edición. Puede que no sea tan intuitivo, pero es una opción potente para quienes tienen un presupuesto limitado.
Ahora que tiene algunas opciones de software en mente, veamos el proceso de edición paso a paso.
Guía paso a paso para editar fotografías tomadas con drones
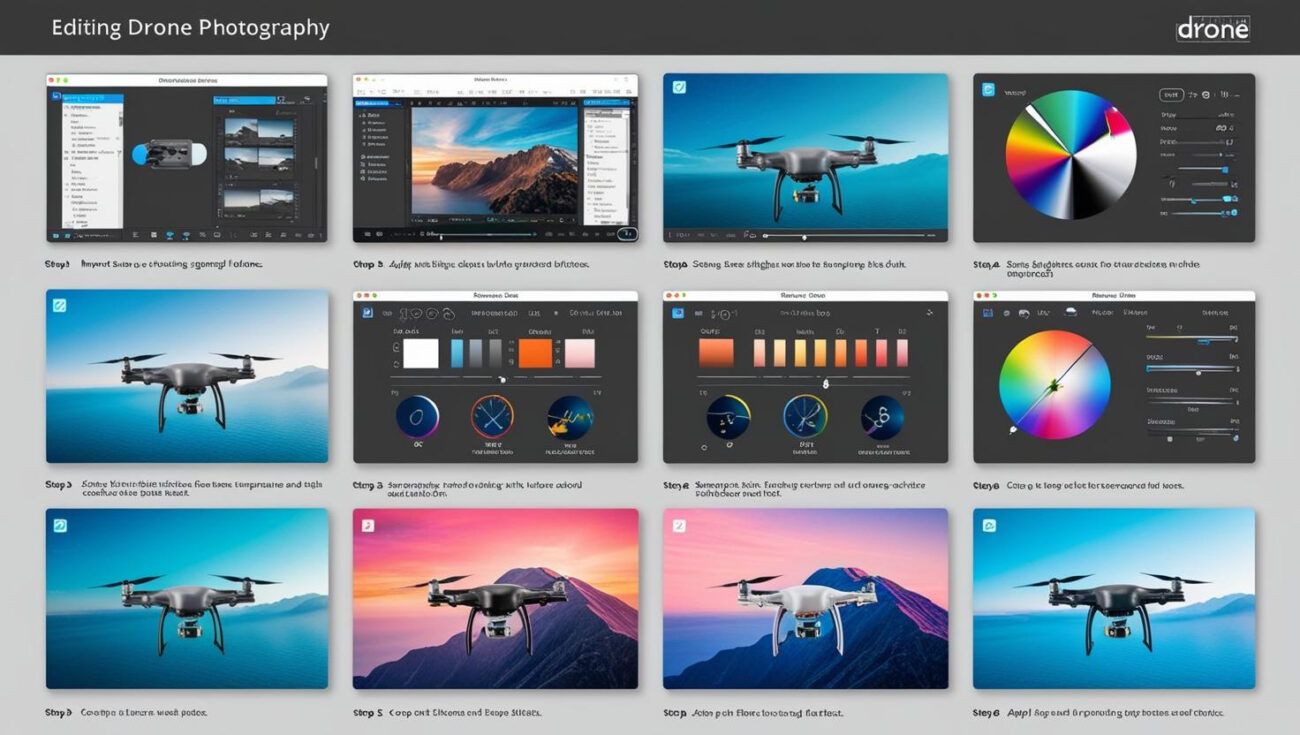
Paso 1: Importa tus fotos
- Comience por importar las imágenes de su dron al software de edición que haya elegido. Organícelas en carpetas para acceder a ellas y administrarlas fácilmente.
Paso 2: Ajustar la configuración básica
- Exposición:Comience ajustando la exposición para asegurarse de que la imagen esté bien iluminada. Aumente o disminuya el control deslizante de exposición hasta que el brillo se vea equilibrado.
- Contraste: Ajuste el control deslizante de contraste para oscurecer las partes oscuras y aclarar las claras. Esto añade profundidad a la imagen y la hace más atractiva visualmente.
Paso 3: Mejorar los colores
- Balance de blancos: Ajuste el balance de blancos para que los colores se vean más naturales. Puede usar el control deslizante de temperatura para agregar calidez (amarillos y rojos) o frialdad (azules y verdes) a la imagen.
- Vibración y saturación:Aumente la intensidad para realzar los colores sin saturarlos demasiado. Tenga cuidado con la saturación, ya que demasiada puede hacer que los colores luzcan poco naturales.
Paso 4: Afina tu imagen
- Nitidez:Utilice la herramienta de nitidez para mejorar los detalles de su fotografía. Esto es especialmente importante para las imágenes aéreas, ya que suelen capturar paisajes intrincados.
- Enmascaramiento:Si su software lo permite, utilice enmascaramiento para enfocar solo las partes de la imagen que lo necesitan, evitando ruido en áreas más suaves como el cielo.
Paso 5: Recortar y enderezar
- Revisa tu composición y recorta los elementos innecesarios de los bordes del marco. Si el horizonte está inclinado, utiliza la herramienta de enderezar para nivelarlo.
Paso 6: Aplicar filtros y efectos (opcional)
- Muchos programas de edición ofrecen filtros que pueden añadir un toque único a tus fotos. Experimenta con diferentes efectos, pero recuerda que deben ser sutiles para mantener el aspecto natural de la imagen.
Paso 7: Exporta tus fotos editadas
- Una vez que estés satisfecho con tus modificaciones, exporta tus fotos en el formato que desees. Para compartir en línea, JPEG suele ser la mejor opción, mientras que TIFF es el formato preferido para imprimir.
Conclusión
Editar fotos tomadas con drones puede mejorar enormemente su calidad e impacto. Si utiliza software popular y sigue estos pasos, podrá transformar sus tomas aéreas en imágenes impresionantes que capturen la belleza del mundo desde arriba. Recuerde que la práctica hace al maestro, así que siga experimentando con diferentes técnicas para encontrar su estilo único.
Facebook: Caeujt
Instagram: caeujt
TikTok: dron7401
Gorjeo: caeujtdrone

