Personalization
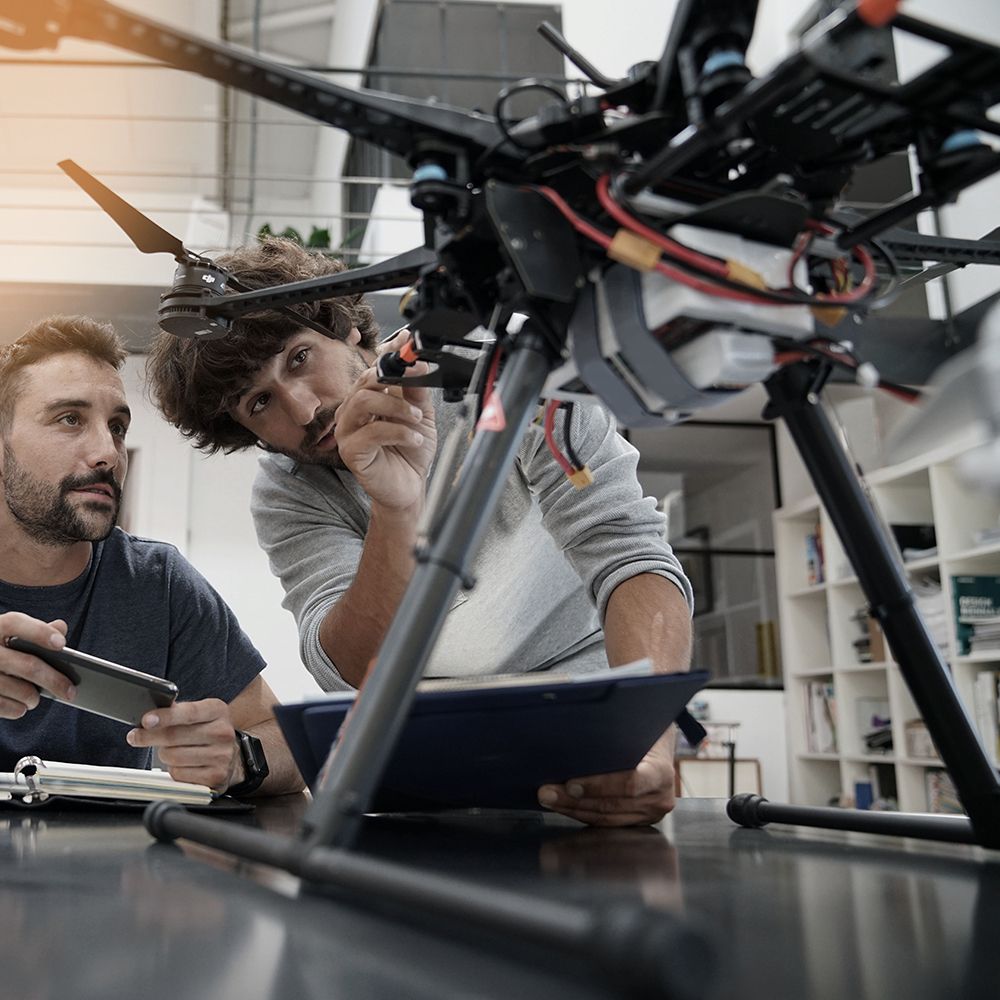
One of the most significant advantages of building your own drone is the ability to customize it. Off-the-shelf drones often come with fixed features that may not suit your specific requirements. By building your own, you can select components that match your desired specifications, such as flight time, payload capacity, and camera quality. This level of personalization ensures that your drone performs exactly how you want it to.
Skill Development
Building a drone is not just about assembling parts; it’s a fantastic opportunity to learn valuable skills. From soldering and wiring to understanding flight dynamics and software configuration, the process involves a range of technical skills. These skills are not only applicable to drones but can also be beneficial in various technological fields.
Cost-Effectiveness
While the initial investment in drone components can seem high, building your own drone can often be more cost-effective in the long run. Instead of purchasing a pre-built model, you can gradually upgrade individual components as your budget allows. This approach not only saves money but also keeps your drone up-to-date with the latest technology.
Community Support
The drone-building community is vibrant and supportive. There are numerous forums, blogs, and social media groups dedicated to DIY drone enthusiasts. Engaging with this community can provide you with valuable insights, troubleshooting tips, and inspiration for your builds. Sharing your experiences and learning from others can enhance your drone-building journey.
Steps to Build Your Custom Drone
1. Define Your Purpose
Before diving into the build, determine what you want your drone to do. Is it for racing, aerial photography, or simply for fun? Your intended use will guide your choice of components.
2. Choose Your Components
Select the essential parts for your drone:
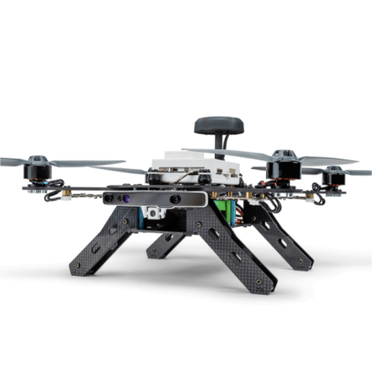
- Frame: The structure that holds everything together. Choose a lightweight yet durable material.
- Motors: The type and size of motors will depend on your drone’s weight and desired performance.
- Flight Controller: This is the brain of your drone. It controls the motors and stabilizes the flight.
- Battery: Choose a battery that provides adequate power and flight time for your needs.
- Camera (if needed): For aerial photography, select a camera that meets your quality requirements.
3. Assemble the Drone
Follow a step-by-step guide to assemble your drone. Pay attention to wiring and connections, ensuring everything is secure and properly configured.
4. Test and Calibrate
Once assembled, it’s crucial to test your drone. Start with low-altitude flights to check stability and responsiveness. Calibrate the flight controller as necessary to ensure optimal performance.
5. Learn from Mistakes
Building a drone is a learning experience. Don’t be discouraged by initial challenges. Each mistake is an opportunity to learn and improve your skills.
The Joy of Flying Your Custom Drone
There’s nothing quite like the thrill of flying a drone that you’ve built yourself. The sense of accomplishment and the ability to capture stunning aerial views or race against friends adds to the excitement. Plus, as technology advances, you can continue to upgrade and modify your drone, keeping the experience fresh and engaging.In conclusion, building a custom drone is an exciting project that combines creativity, technical skills, and the joy of flight. Whether you’re a seasoned pilot or a curious beginner, the journey of creating your own drone can be incredibly fulfilling. So gather your materials, tap into the community, and take to the skies with your unique creation!

